Run Guided Setup
Follow the current seven-stage sequence and understand what each choice configures.
Follow the seven stages in order
Guided Setup starts after Elder Dialler is confirmed as the Android default phone app. Progress and selections survive recreation, so an unfinished setup can be resumed. Completed choices can later be changed manually in Preferences and contact-assignment screens.
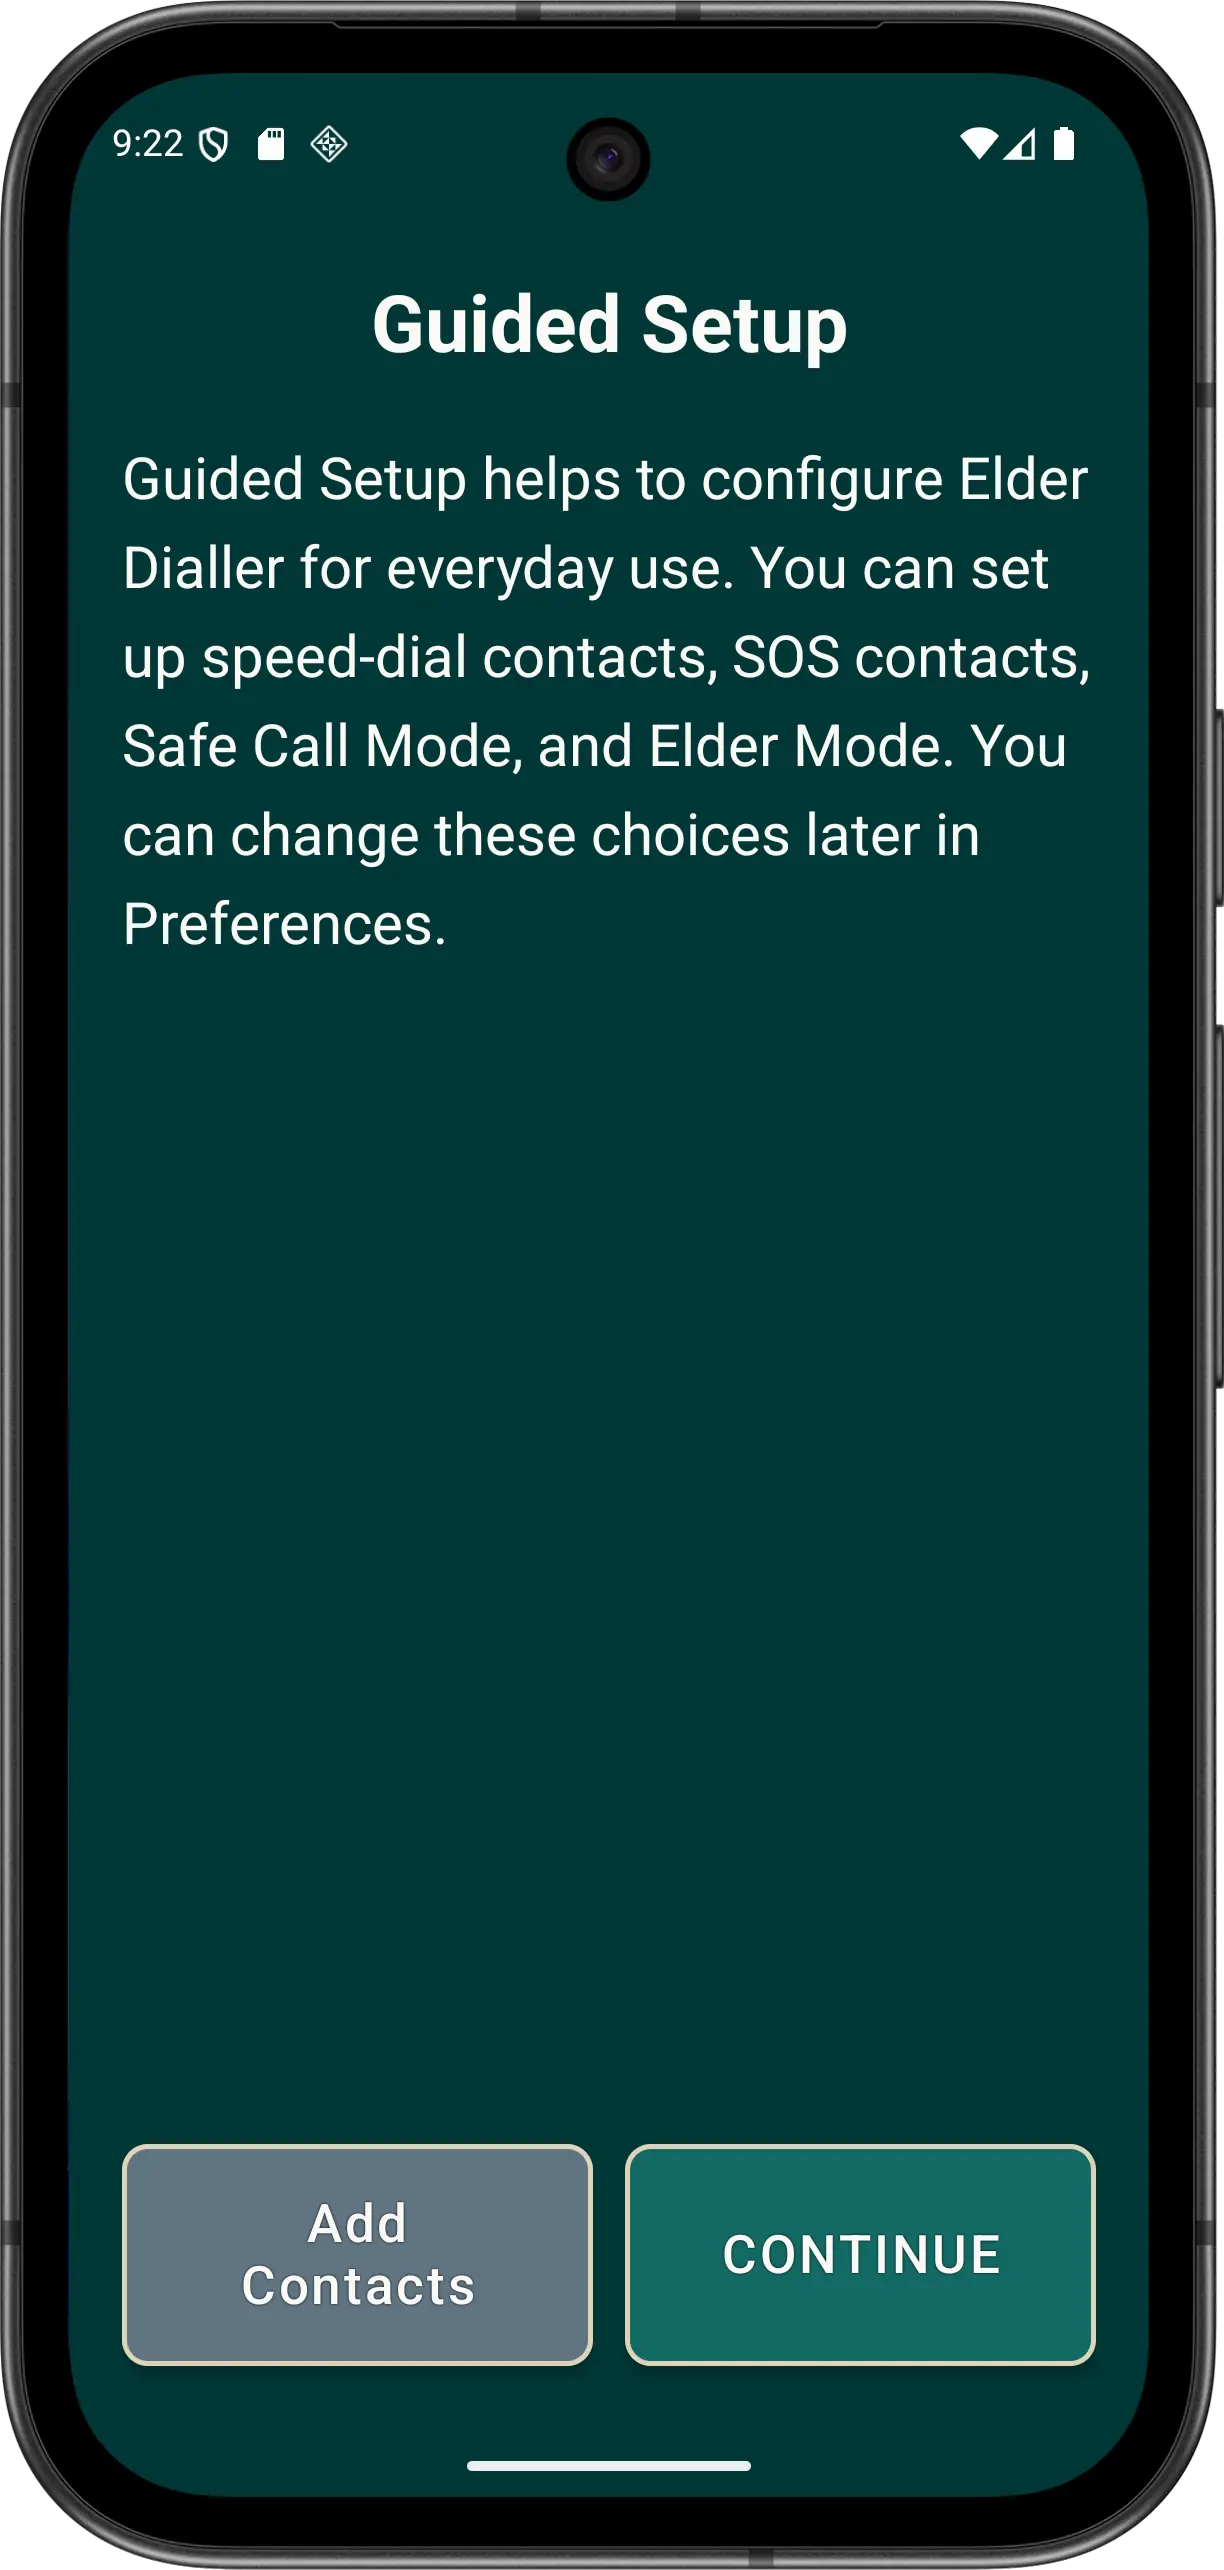
1. Welcome
Continue into setup or use ADD CONTACTS first. Adding or editing a contact opens Android Contacts because Elder Dialler does not write contacts itself.
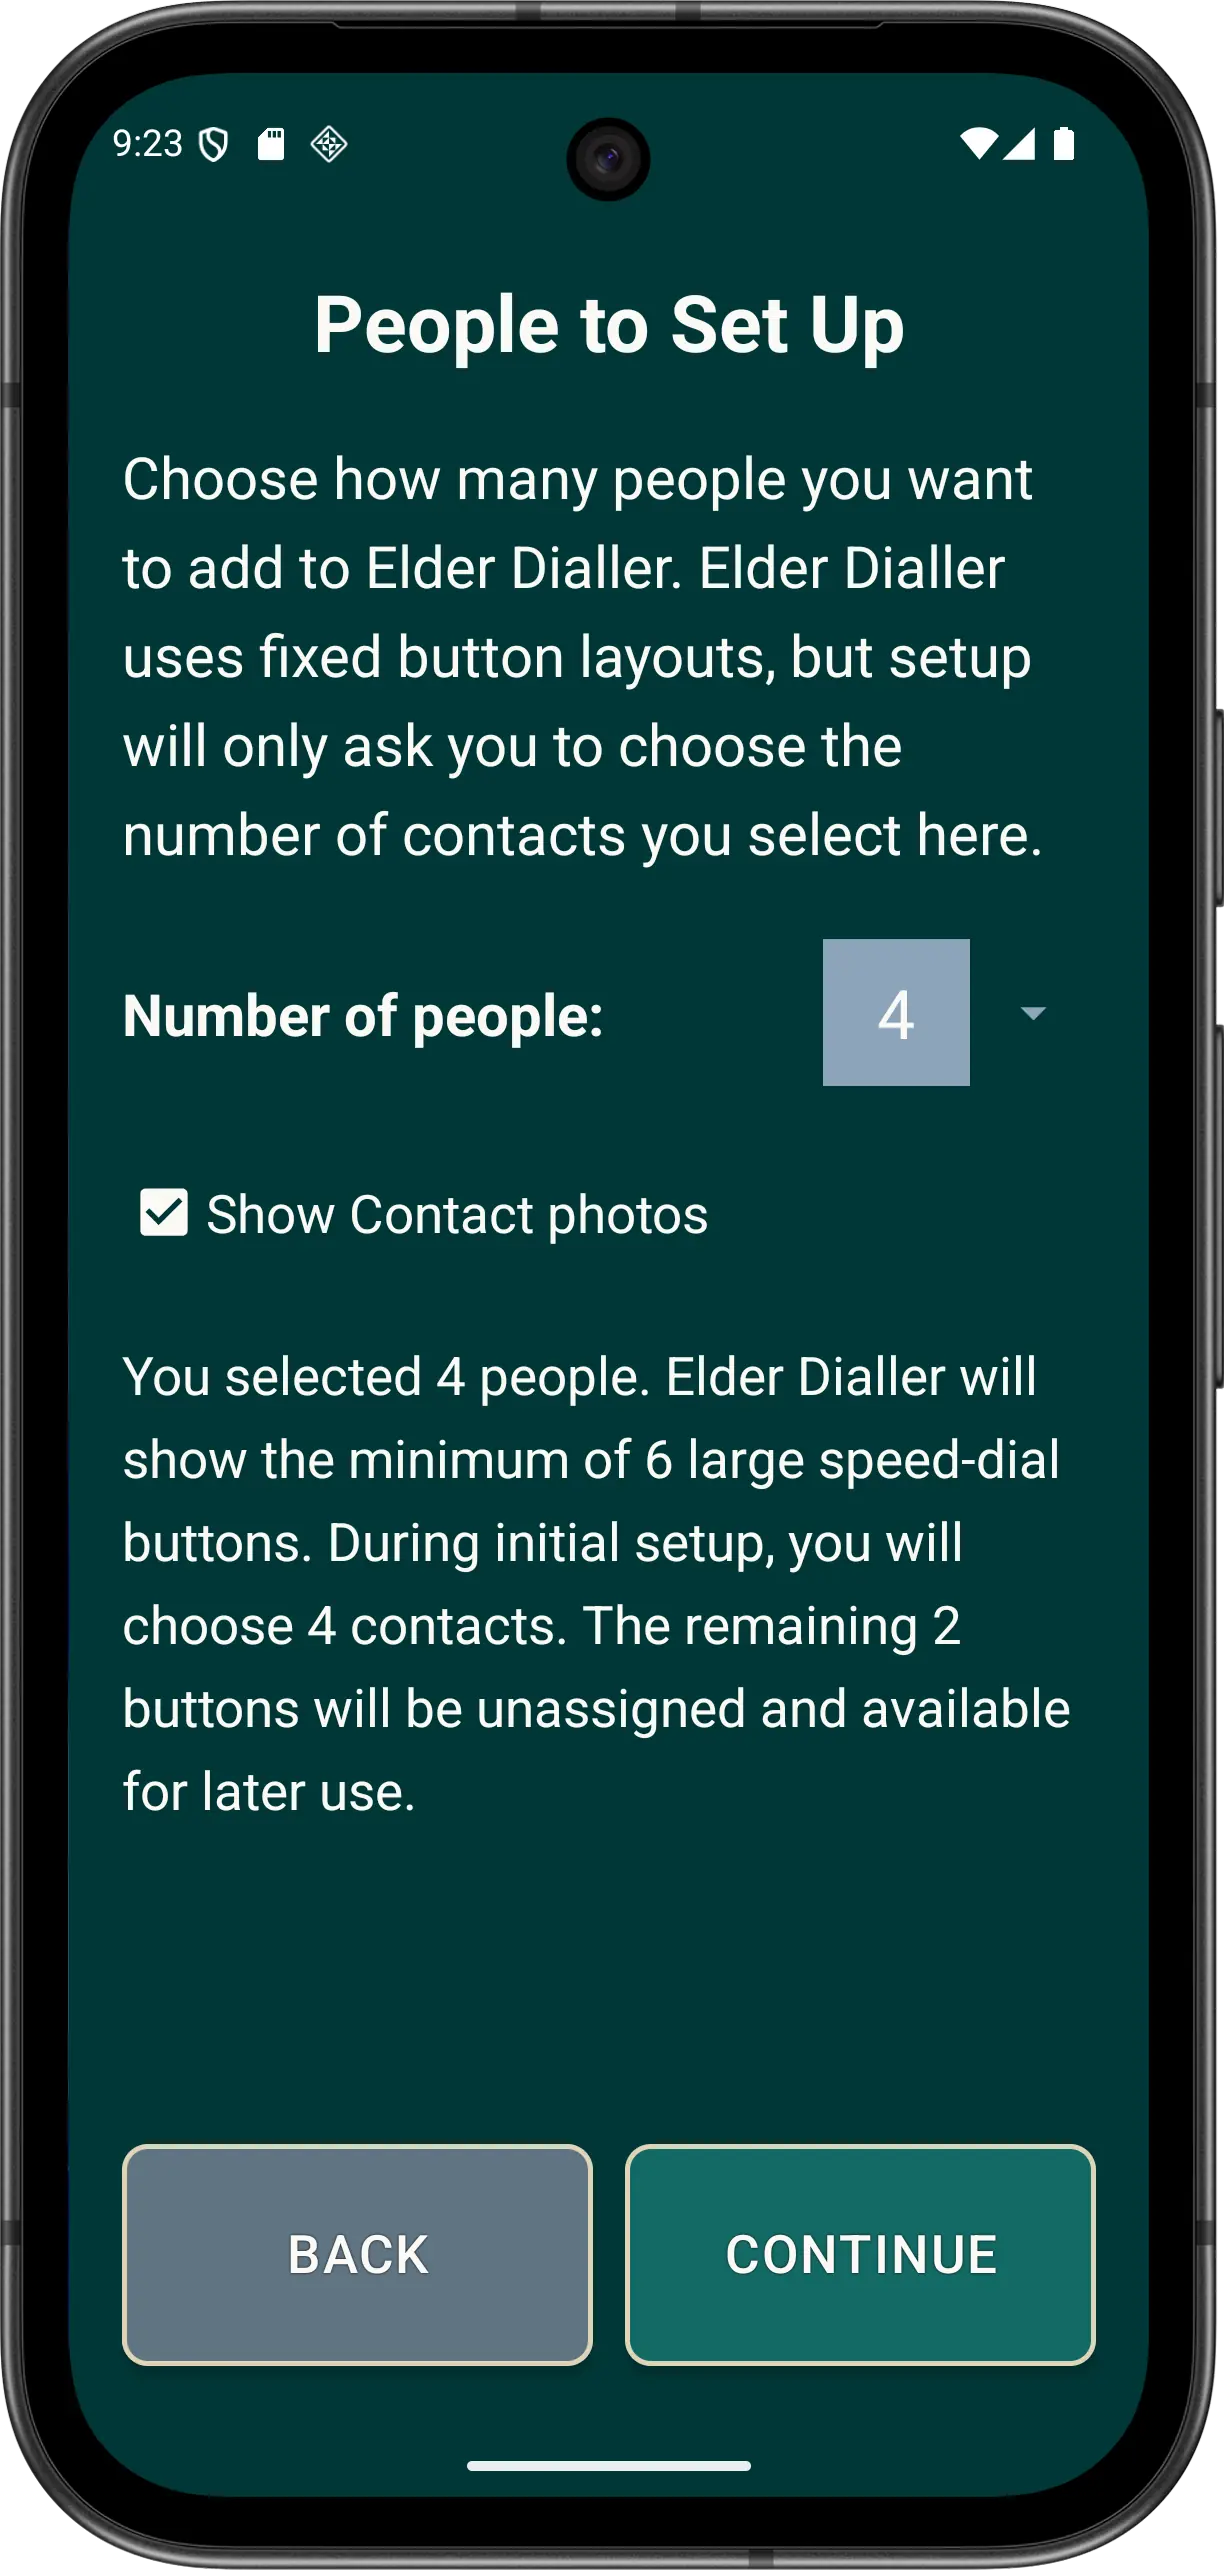
Add contacts before continuing when the phone's Contacts list is empty. 2. People and layout
Choose 1 to 10 people. Elder Dialler prepares the selection step and maps the choice to a 6, 8 or 10-position layout. Advanced users can also choose contact images when available.
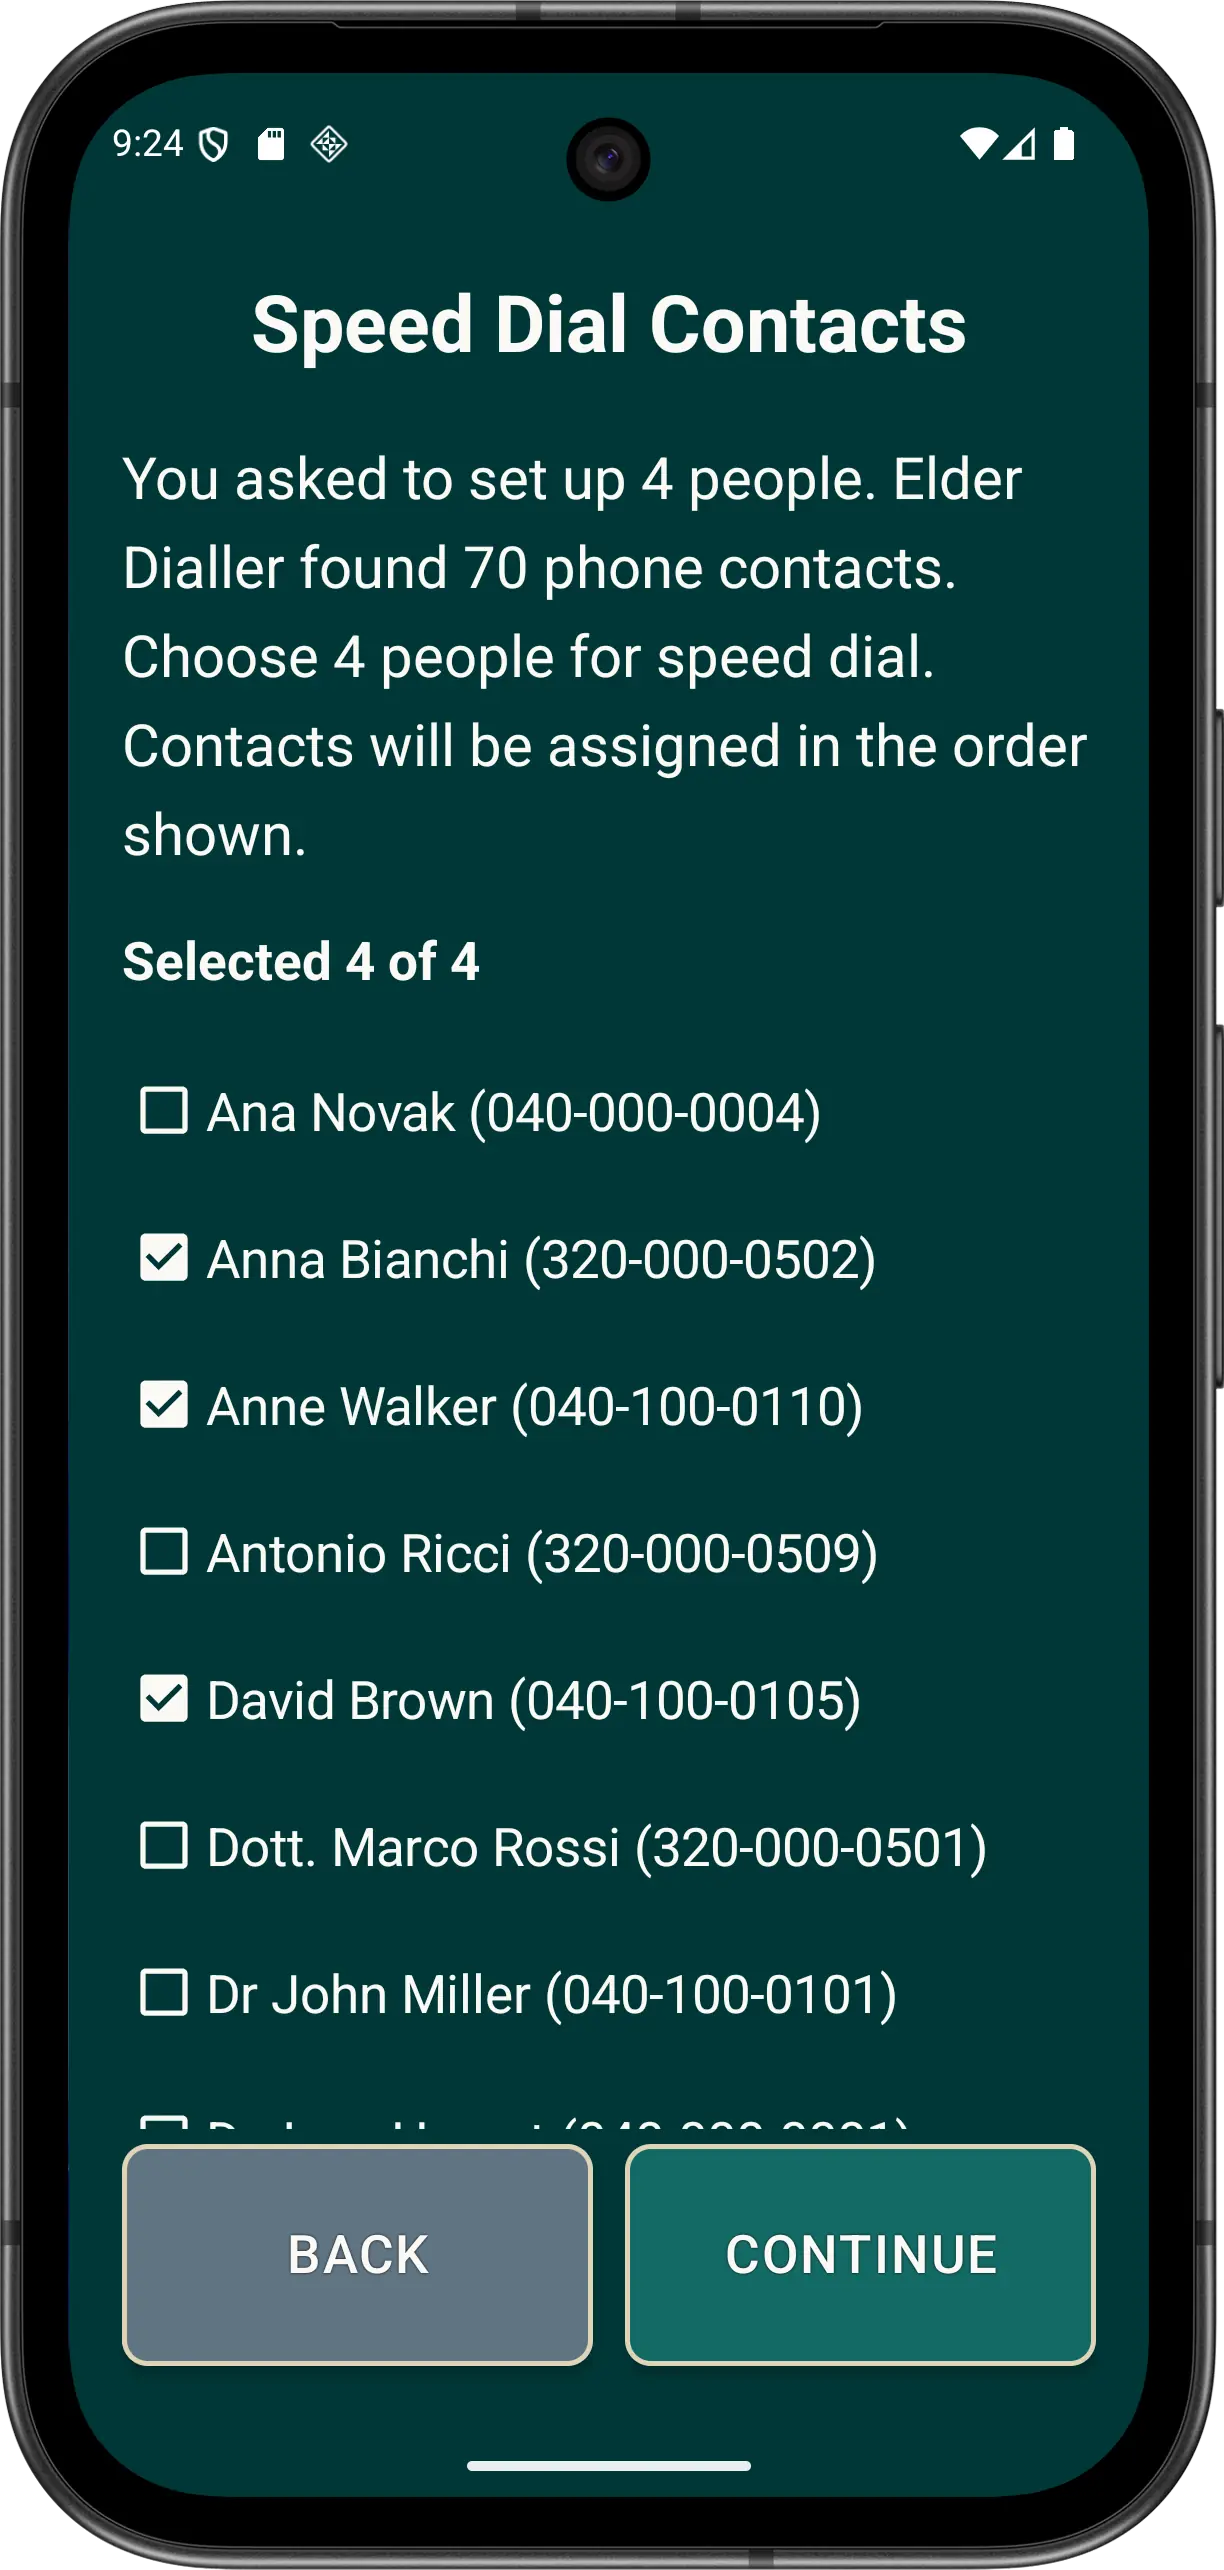
The people count prepares the speed-dial selection and layout. 3. Speed-dial contacts
Select the contacts to place in the ordered speed-dial positions. Empty editable positions can later show + when Show + for empty speed dials is enabled; Elder Mode hides empty positions.
Choose familiar contacts in the order they should appear. 4. SOS contacts and Auto SOS
Select consenting personal contacts in calling order or skip SOS. With Advanced, Auto SOS can be Disabled or use 10, 15, 20, 30 or 45 seconds between sequence actions.
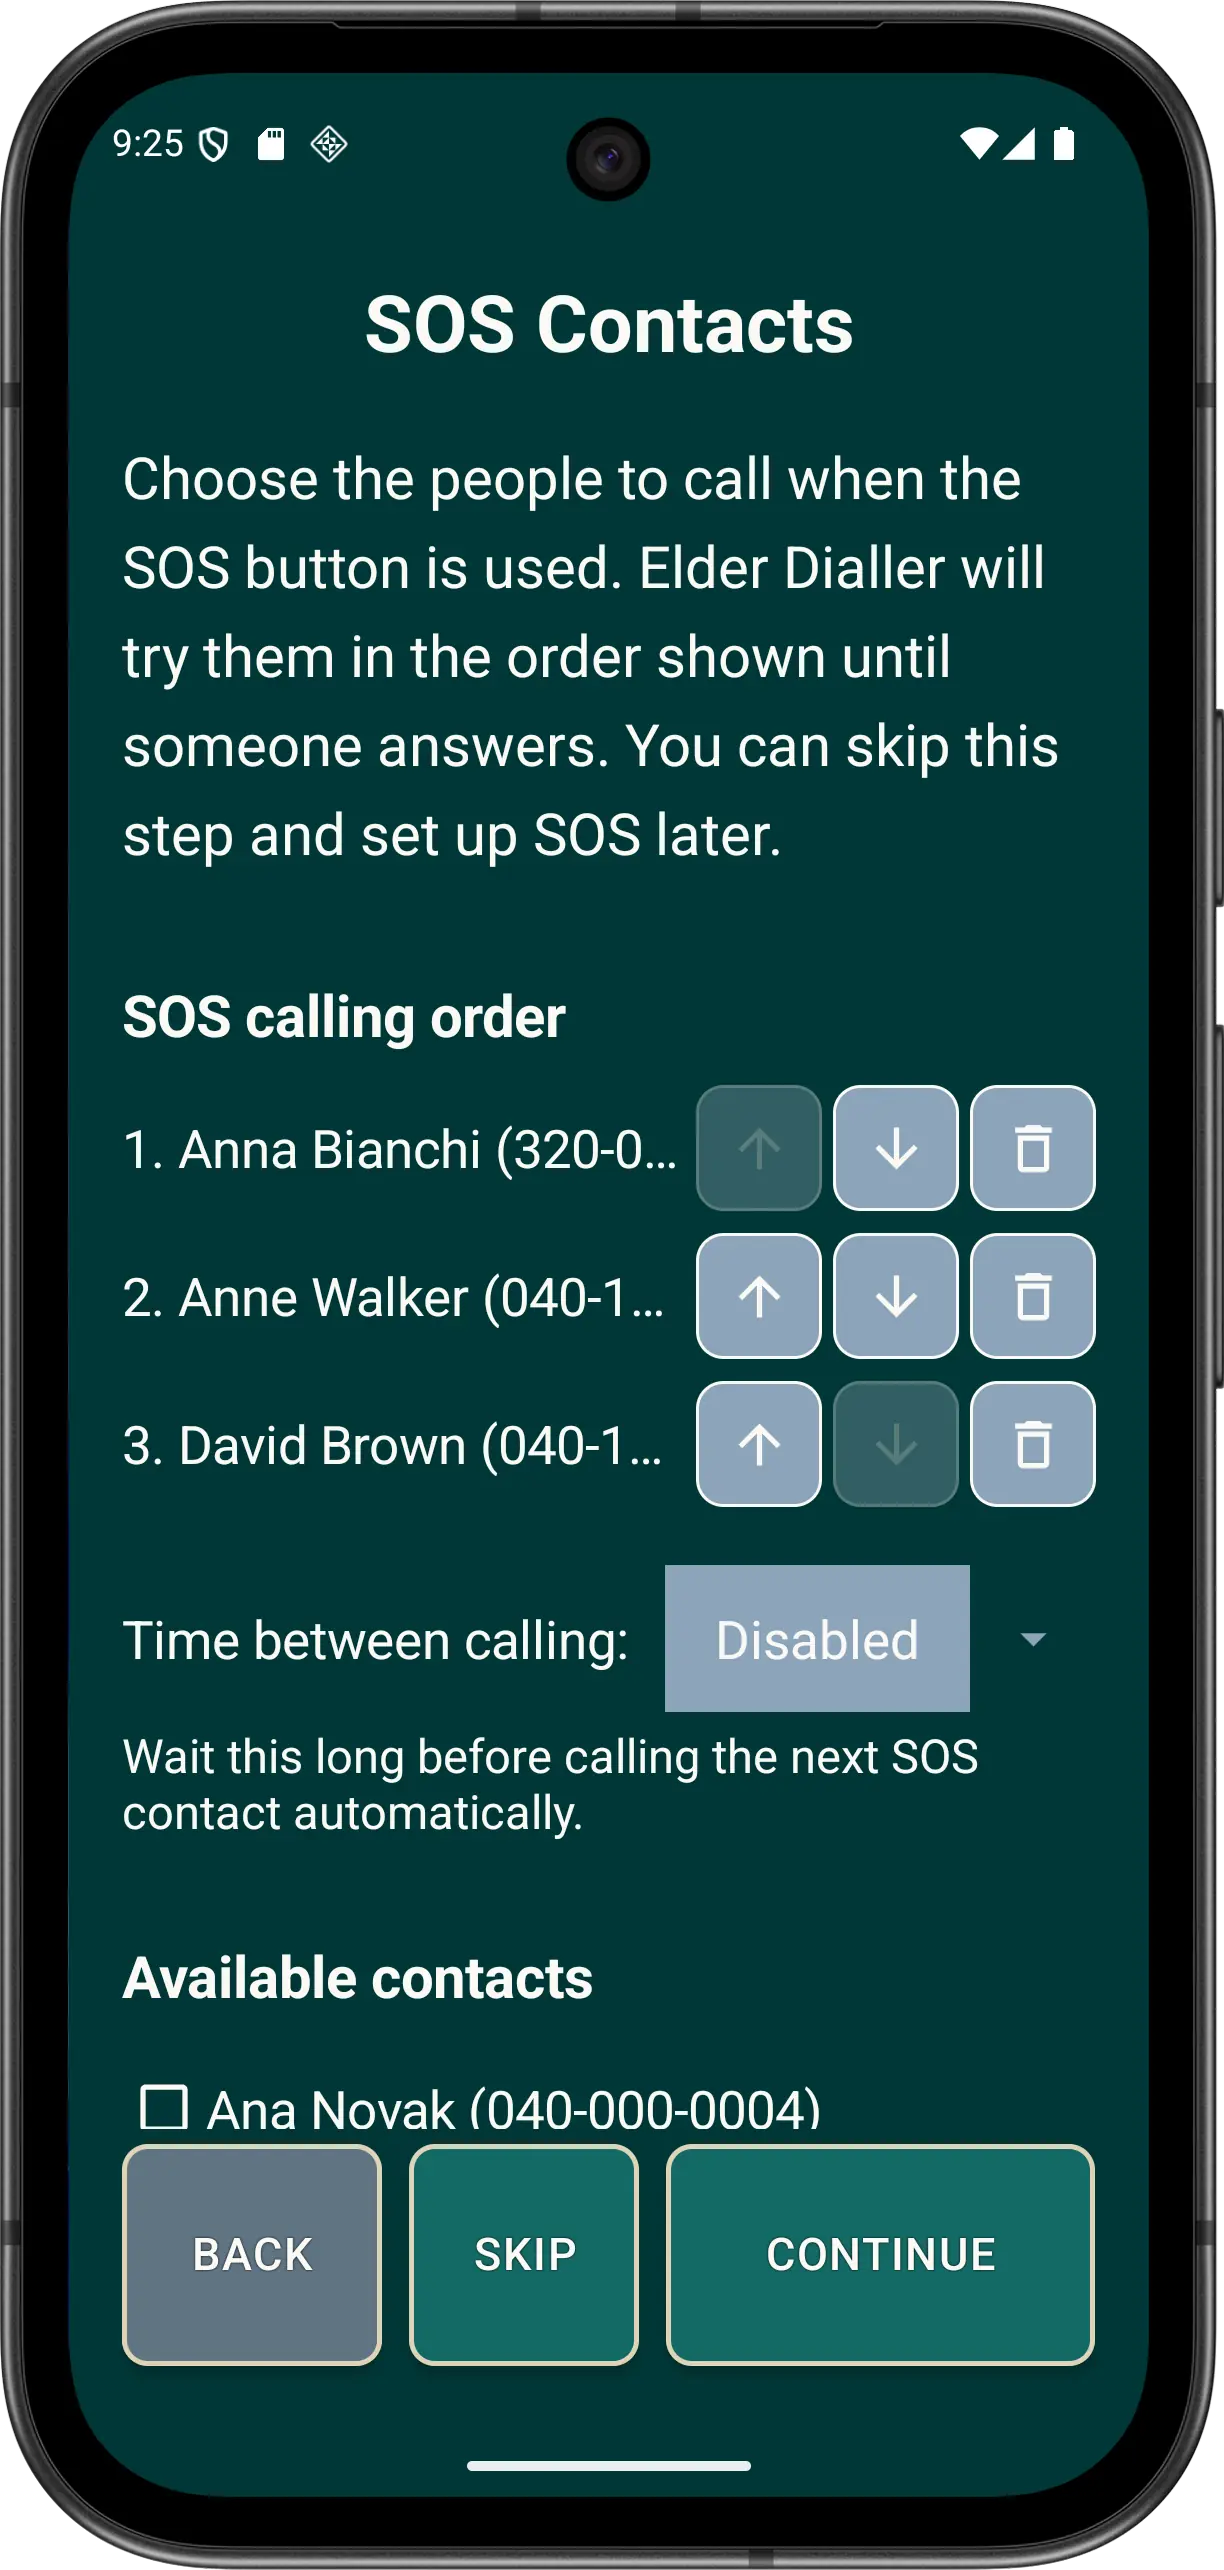
SOS calls ordinary personal contacts; it is not an emergency-response service. 5. Safe Call Mode
This Advanced step can allow matched Contacts and reject unmatched, invalid or private incoming numbers. It cannot identify every scam call and fails open if usable Contacts access is unavailable.
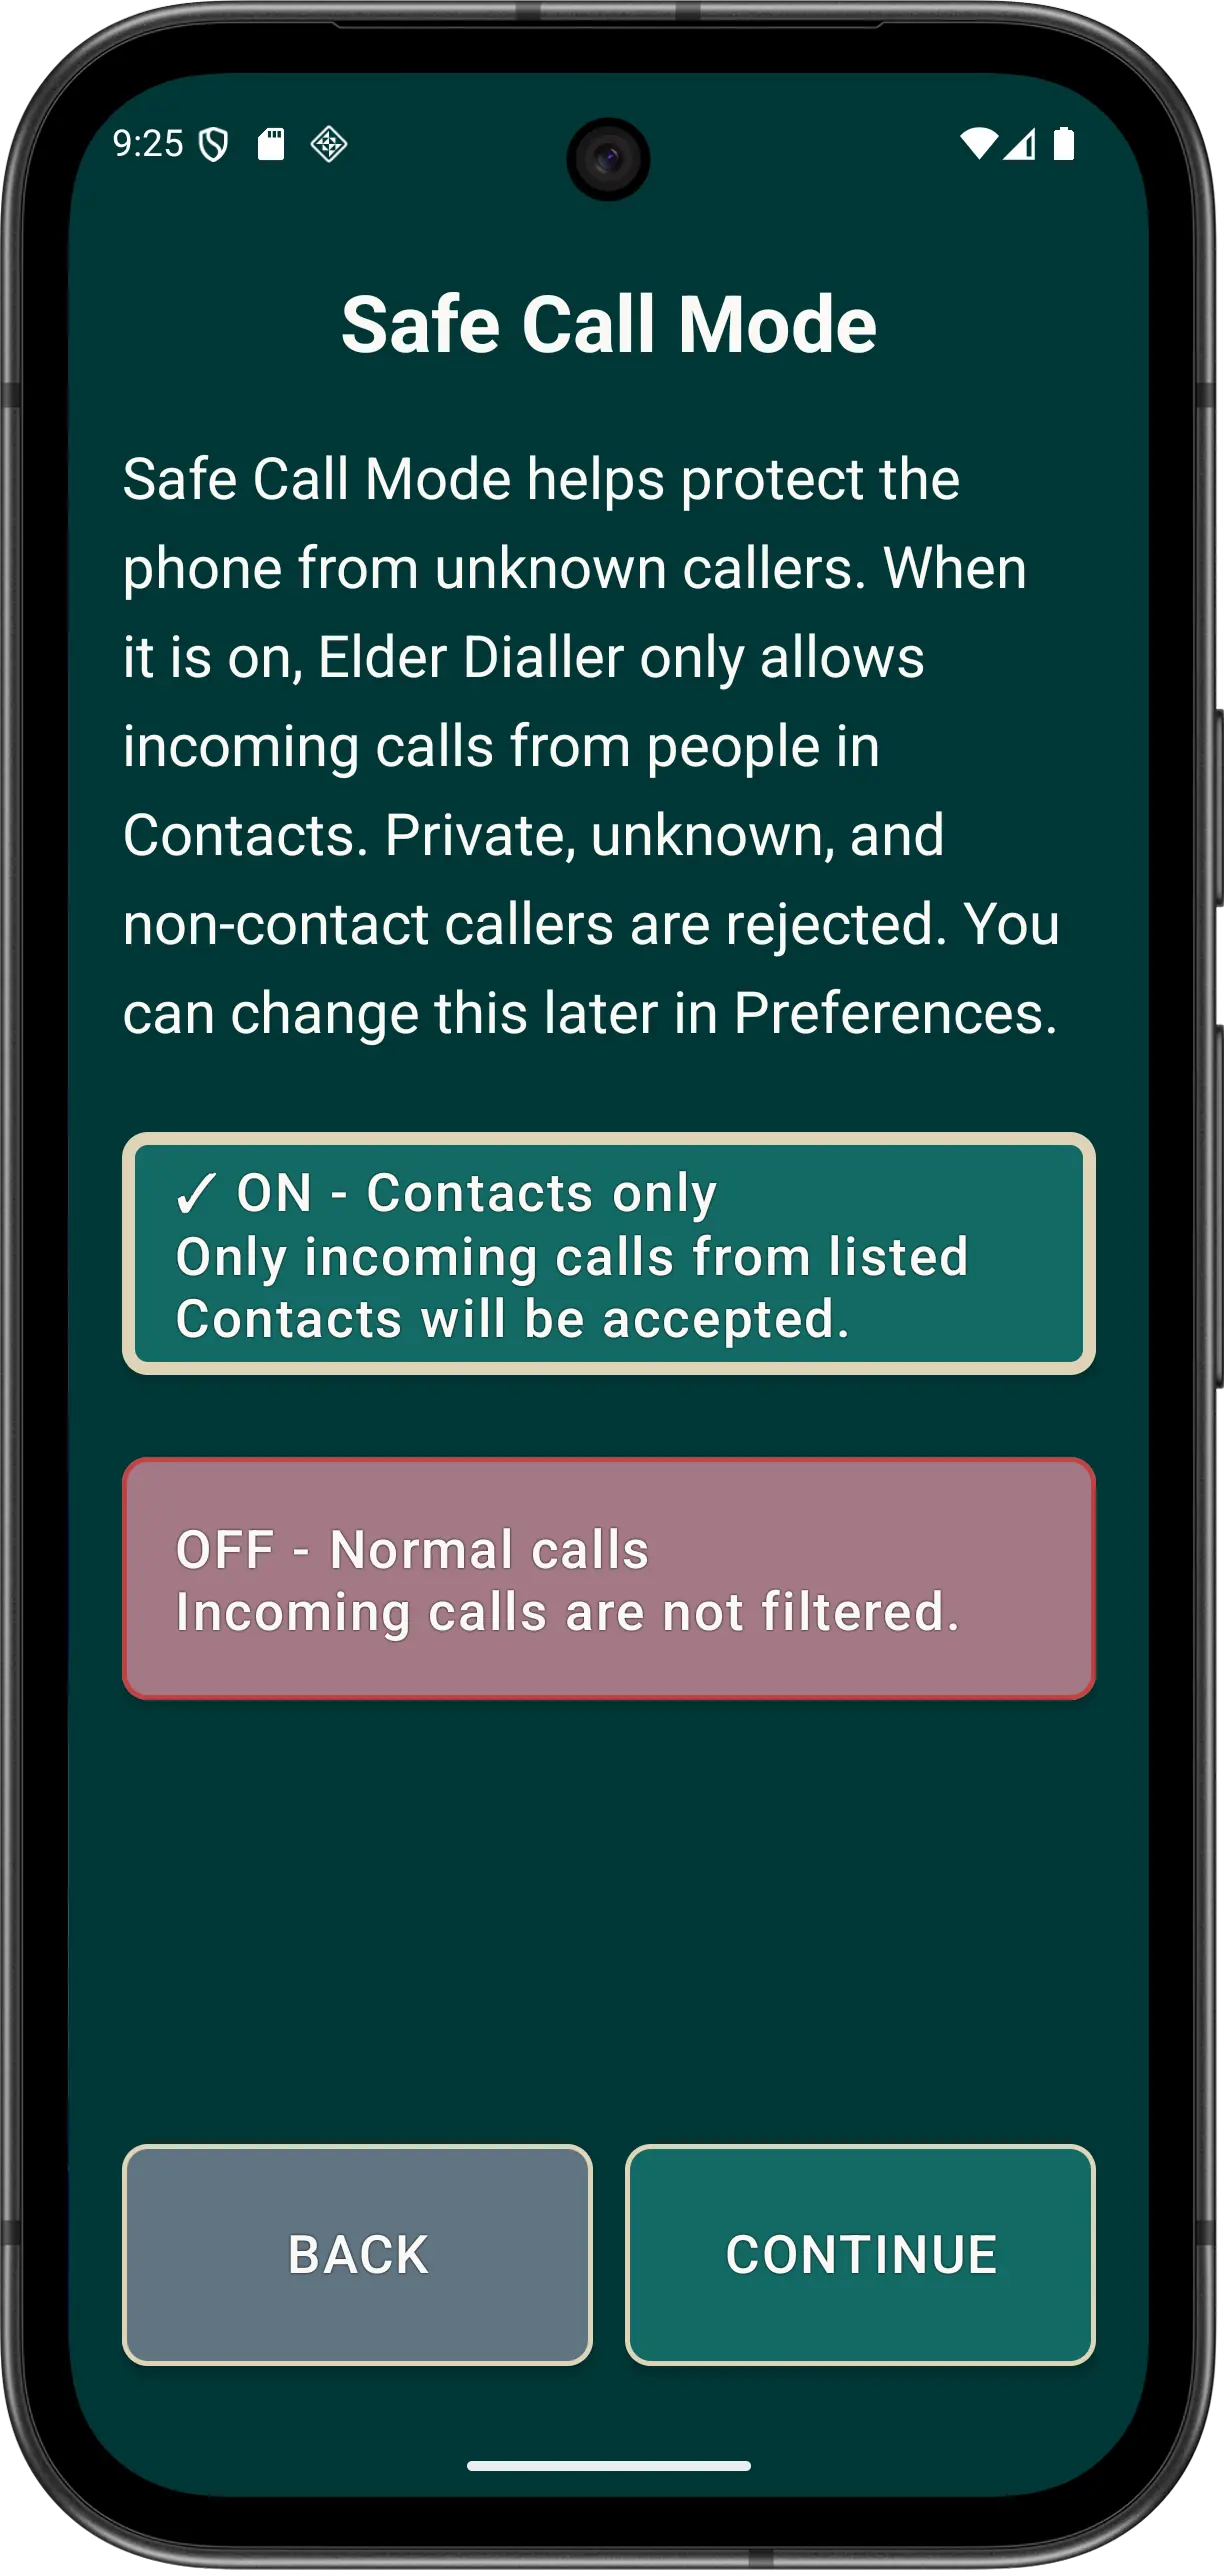
Safe Call Mode is Advanced and depends on usable Contacts access. 6. Elder Mode
Choose the free simpler operating mode last so setup is not restricted prematurely. Guided Setup stores the choice; it does not itself start Android lock task. Android screen-pinning confirmation is handled when Elder Mode is activated.
7. Setup summary
Review the saved people, layout, SOS, Advanced choices and Elder Mode. Use BACK to correct the sequence or FINISH to complete setup. Later changes remain available through Preferences and the relevant setup screens.
Review the on-screen summary before finishing Guided Setup.
Disclaimer: All names, contact details, and images displayed on this website and shown within the Elder Dialler application are entirely fictitious and are used for demonstration and illustrative purposes only. Any resemblance to real persons, living or deceased, is purely coincidental. No content is intended to represent, simulate, or replicate any actual individual.